
I finally got the Super-PID installed today.
A good friend of mine brought over some 1/4″ acrylic so I could finish off the Super-PID case. I spent the day figuring out how to make it work.
I cut off a chunk with the tablesaw, that worked pretty good. I also cut it to length with the table saw.
I started trying to drill the mounting holes, and found that drilling acrylic is a bit more difficult than drilling wood. I cracked the plastic on fully half of the corner mounting holes, but I decided to press on anyway.
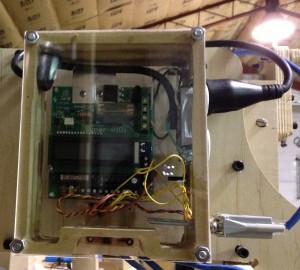
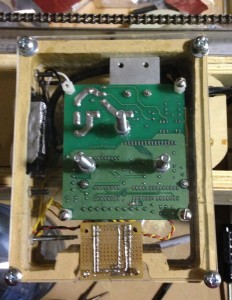
I carefully dotted the plastic where I wanted the Super-PID and I/O board to mount, and then went on a hunt for hardware that would work to mount it all up. I found that the feet on the Super-PID were self-tapping and would work with 6-32 hardware, and I had some really short ones lying around (~1/2″ — nice). The I/O board really wanted 4-40 hardware, and that took a lot of work to find. Apparently I don’t do enough computer hardware work, as I am pretty sure that 4-40 is pretty common on old-school interface ports (DB-9 etc). Anyway, I finally found enough hardware to get it all mounted up, and was able to drill holes right where I wanted them, and as if by magic, everything mounted up perfectly the first time! No extra holes. Amazing.
I needed to figure out how to mount the unit to the CNC, and after starting to think down the path of a keyholed system, I finally landed on simply bolting the thing on. I found some places where I could drill holes, drilled 3 of them (first in the plastic, then through the gantry).
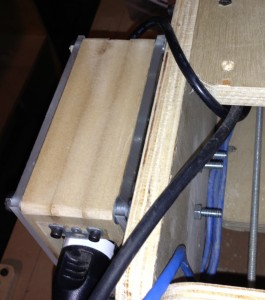
With about 10 minutes of assembly, the Super-PID is mounted to the CNC!
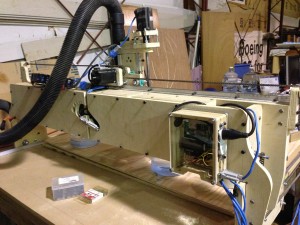
All that’s left is putting a servo connector on the RPM sensor, and I’m ready to test.
It feels really, really good to have the Super-PID installed. I feel like I’m ready to start cutting again really soon.
Ironically, of course, once I get the Super-PID working, I’ll be able to CNC acrylic…