I got up fairly early this morning and started working on the CNC build. I think I was in the shop before 9am.
In a burst of inspiration, I decided that since the machine was already lined up and ready to go with the gantry top/bottom piece, I could just lay a second workpiece right on top of the first, rezero the Z axis, and spend a little less time worrying about registering the workpiece to the table. I also decided to swap out the previously-cleaned 4-flute bit for a brand new bit. All I have left are 2 flute bits, so that’s what I used. I am going through endmills
pretty fast. I better put in another order for some.
I can only say that this plan (new bit, layered workpiece) worked out perfectly. With very little muss and fuss, I had the first gantry top finished, and what with one thing and another, I now had outline marks on the bottom for all the drills, so I could see if the machine could hit them correctly, and it did. Awesome!
I spent a little time getting the final board registered; this is a fiddly process, because I don’t really have anything on the table that tells me where to put stuff. So I end up laying it down “close”, then running the bit back and forth until reality matches what the computer thinks is going on. Then I find a convenient place to throw in some hold down screws, and I”m golden.
I’ve started putting hold down screws in each part if I can; it seems to help with that final cut out. If the part has a 1/4″ hole in it, that makes it easier. If the part has only 7/16″ holes, I have to add a nut (in use as a washer) to the hold down. It’s a bit fiddly, but it works out ok.
That said, there were a couple parts that I simply couldn’t screw down, so I had to hold them down with my fingers. This is a process that takes a lot of concentration. Stay away from the router bit, but hold the part steady and firmly. I did ok but it’s one of those heart in the throat moments each time I do it.
With the final board all cut out, I was able to shut down the CNC PC and move to the drill press to see if that jig was going to work.
There is a lot of edge drilling in this build. I assume I’m going to have to use about 100 cross dowels, and each one will require an edge to be drilled for it.
The jig did… alright… There were a few glitches. I learned late in the edge drilling that the model I’d used was not at a standard distance from the edge; I had blamed my CAD skills and the CNC machine. I feel a bit justified now.
All of the edge bores that I did with the dirll press seem to be OK. But the ones that I had to do by hand are another matter. One of the gantry sides is in really bad shape, and I’m generally unhappy with my skills with a hand drill. I was also getting pretty tired by this point, as it was after 4pm, and I hadn’t had anything to eat all day, and I’d been on my feet doing CNC stuff for most of that time. I’m not complaining; I signed up for it. But I really should have saved the hand edge drilling for a time when I wasn’t in such a “just get it done” frame of mind.
I still have one piece left that I need to counterbore; it’s the piece that ended up being mirror-imaged. I would have done it, but, of all things, I can’t find my chuck key for the drill press. I’m hoping that it’s still in a box somewhere. But, for now, I am stuck doing only 1/4″ holes with the drill press. sigh.
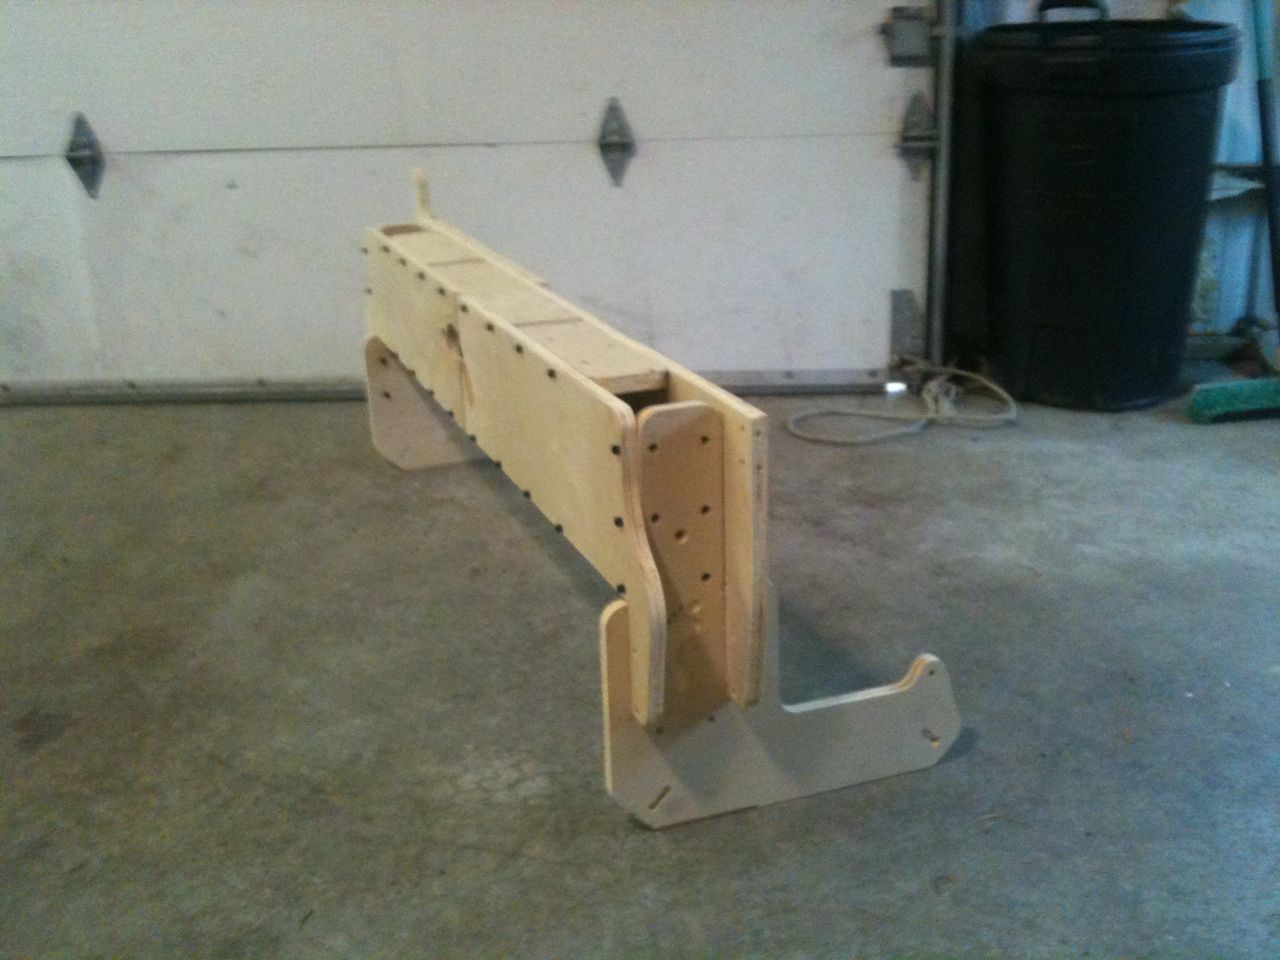
I started to fit the parts together. Things are still a little tricky and tight-fitting. But I got all the pieces test-fit on the gantry (except for the non-counterbored piece) and the Z-axis.
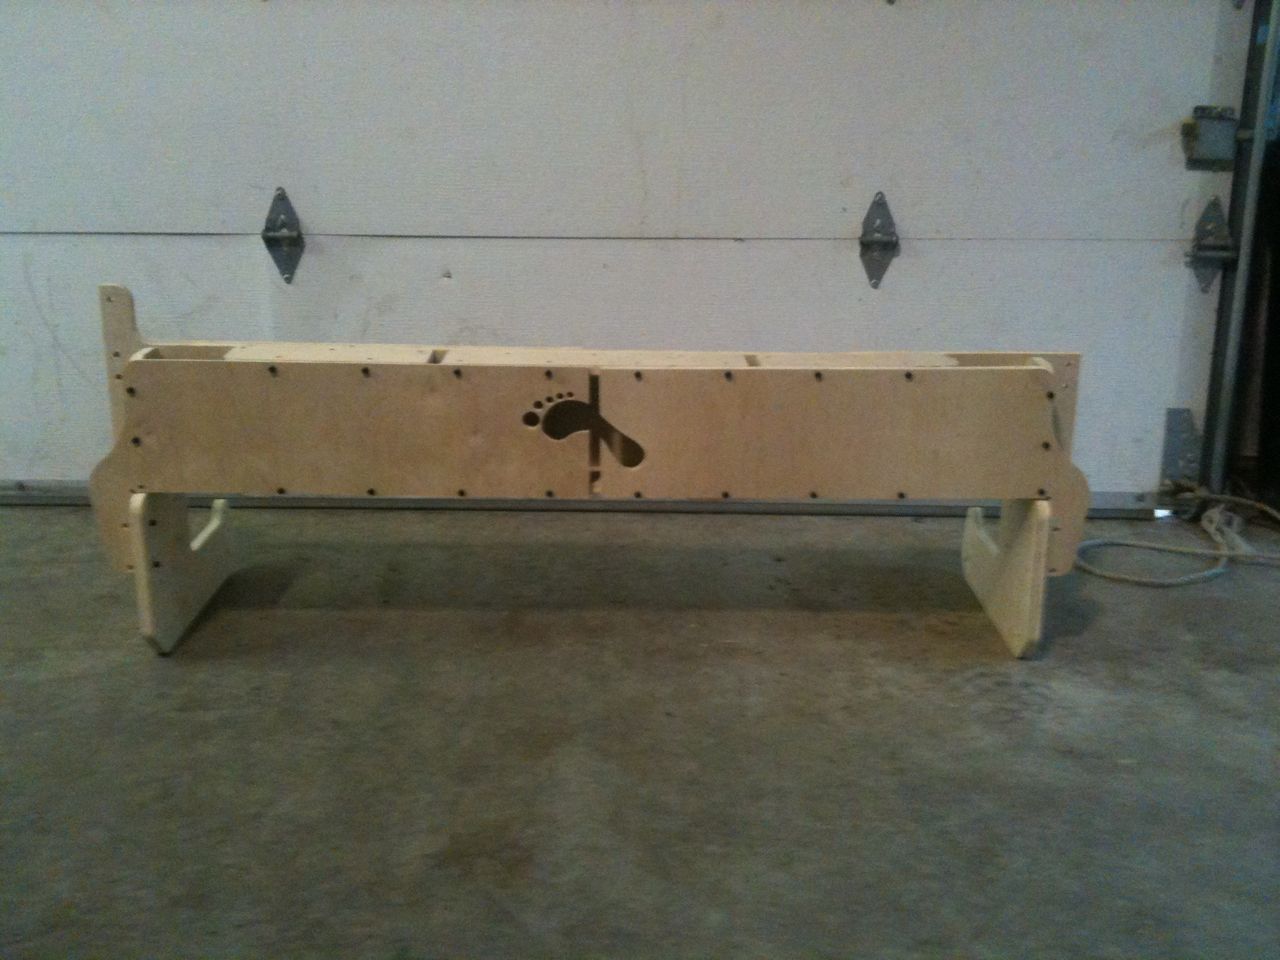
That is a LOT of bolts. I need to make sure everything is ready to be put together permanently, then cross-dowel it all together. With those pieces built up, everything left is either a motor mount or a chain mount. Well, the Z table needs to be bolted on, too. But that’s mostly putting on bearings.
The TODO list got a little shorter:
– buy a chuck key that fits my drill press
– sand all the new parts (maybe pick up some sandpaper while I’m at Home Depot)
– decide whether I want one more quarter-sheet of ply, so that if there’s a part that’s egregiously messed up, I can recut it (only one gantry side, and one piece of the vacuum shoe, fit this criteria)
– drill out any troublesome cross dowel holes by hand
– cross dowel the test-fitted parts together
– once I have access to my forstner bits, there are a few pockets that were missed (one gantry side, Z axis bearing seat, and the re-counterbores)
With those tasks accomplished, I will be ready to drill the rails. I haven’t quite decided what to do about the fact that the rails are all too short. Probably head over to online metals and buy some more parts. Road trip! I just have to figure out what I need.
With rails in place, I’m essentially done with the gantry. Then I’m off in tablesaw land so I can build a torsion box.
Having a whole day to myself really helped to move the project way down the road. Thank you to my loving wife who had a pre-planned engagement for the kids that took most of the afternoon. Here’s another look at that gorgeous gantry.